.png?width=200&height=98&name=Horizontal%20PVFARM%20Logo%20(Small).png)
Use PVFARM tools to insert a public georeferenced image
Geolocation
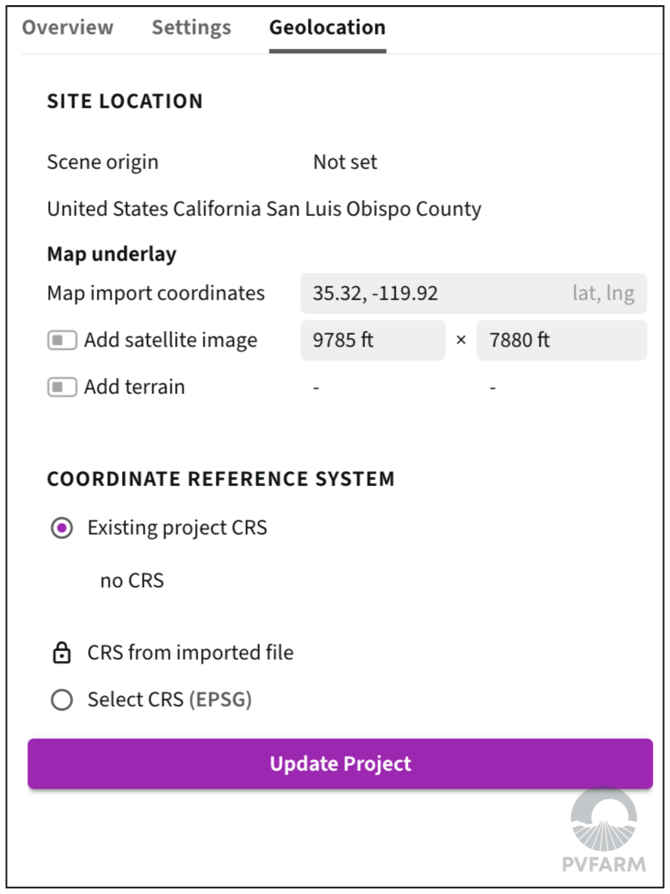
- Map Import Coordinates- This is the latitude and longitude of the center point of your project
- Add Satellite Image- Toggle this on to import a PNG of your sites GEO image
- Add Terrain- This check box will import public topo data that covers the area of the imported image.
- Coordinate Reference System- This is where you'll define which coordinates system your project will be in.
- Existing Project- This is the CRS that was already in the project.
- CRS from imported file- This is the CRS that was brought in along with your import file.
- Select CRS- This is where you can select which CRS you can use from a dropdown of available CRS.
Inserting an existing user image
Introduction: Incorporating aerial images of your site can significantly enhance your project visualization. This guide will walk you through the process of inserting and scaling aerial images using PVFARM, with a focus on compatibility with Nearmap imagery. A video of this workflow is available on PVFARM's YouTube channel.
1. Prepare the Aerial Image
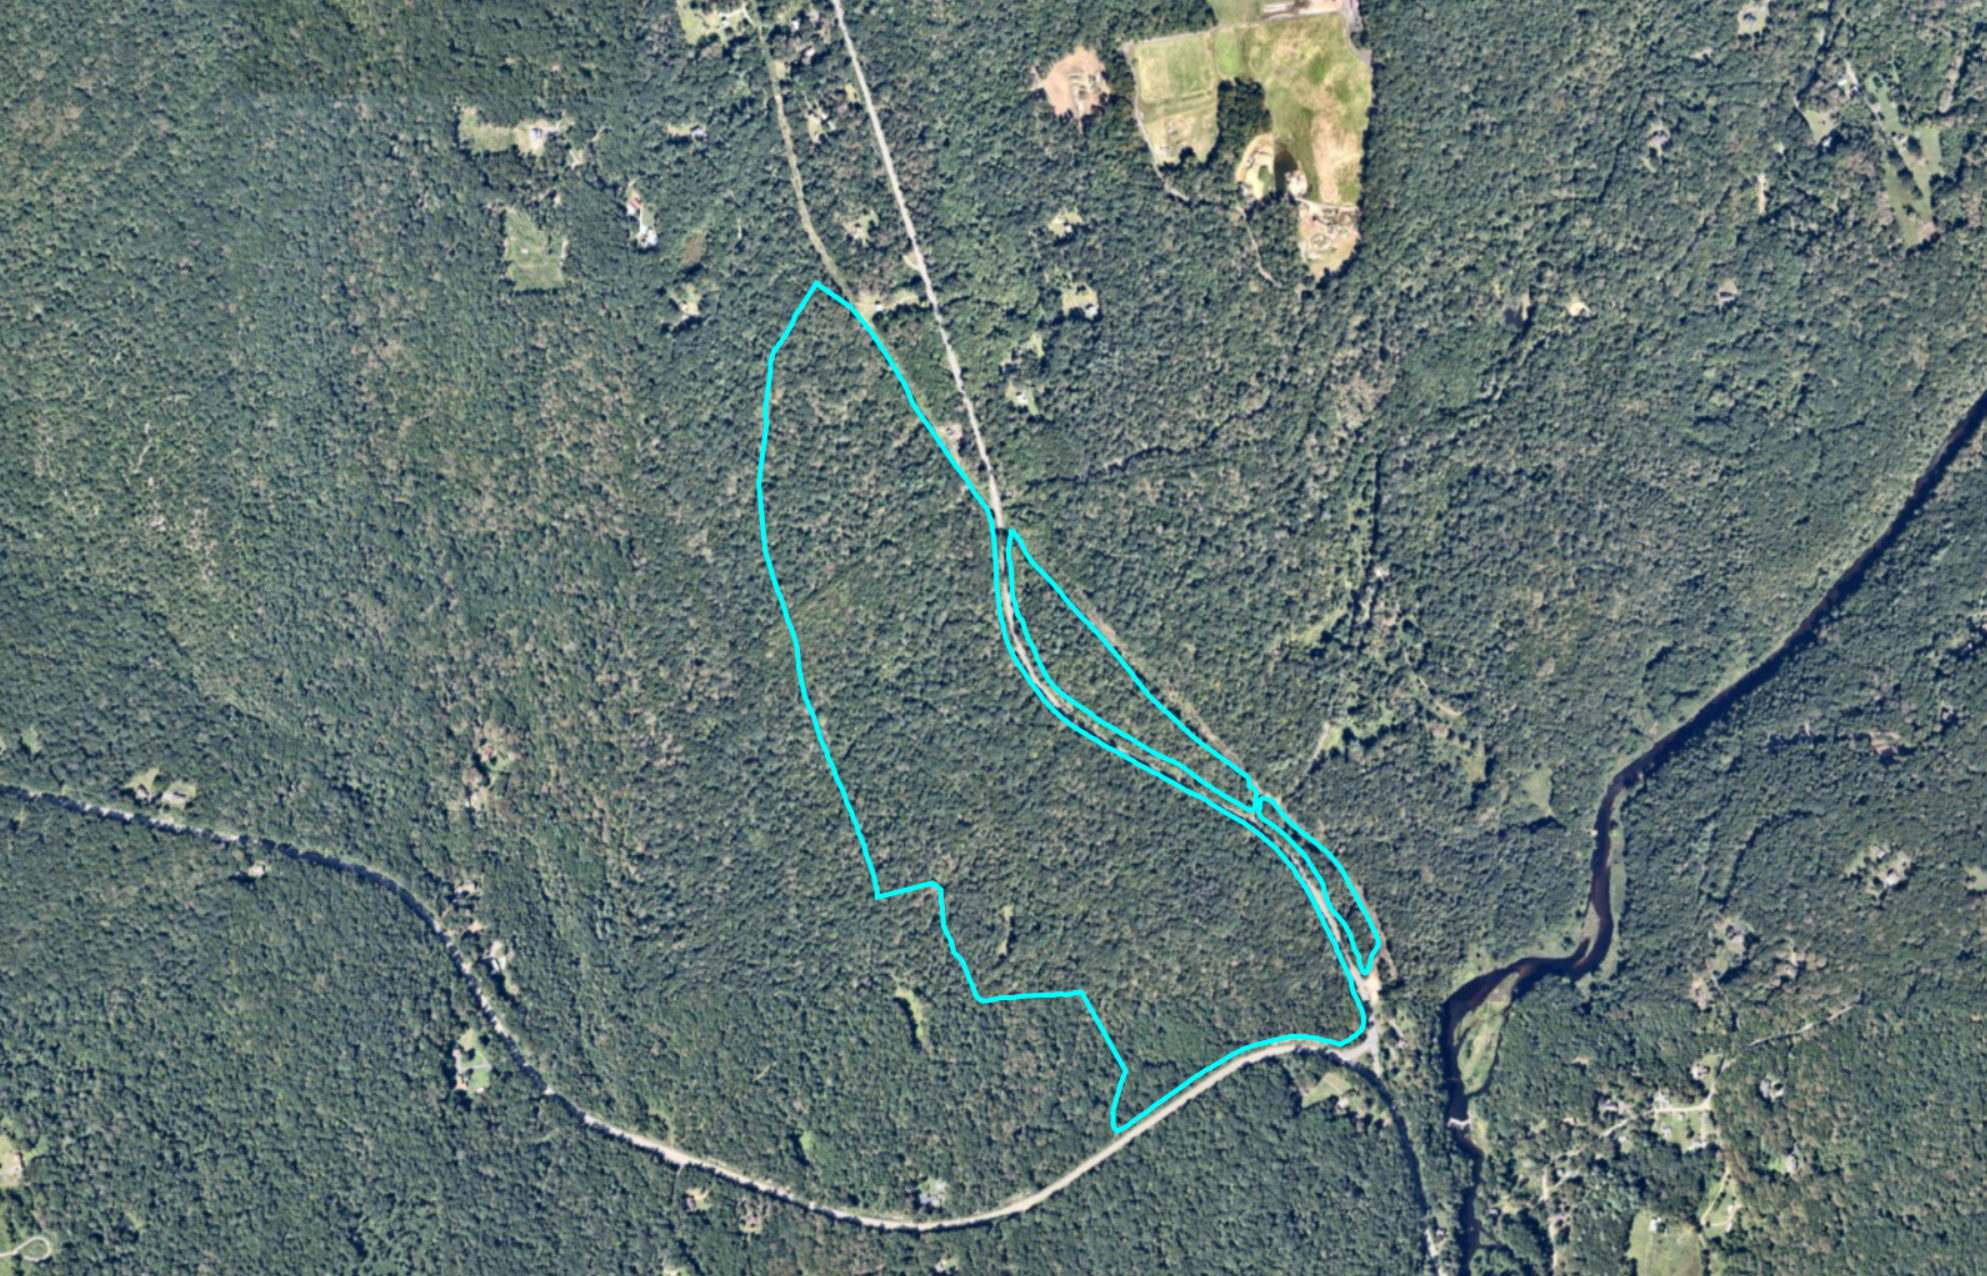
To start, ensure you have a flat 2D image of your site. Any app providing such imagery will suffice, Nearmap or a drone image is preferred. Avoid using Google Earth due to its Earth curvature considerations, which may affect scaling accuracy.
2. Capture the Image
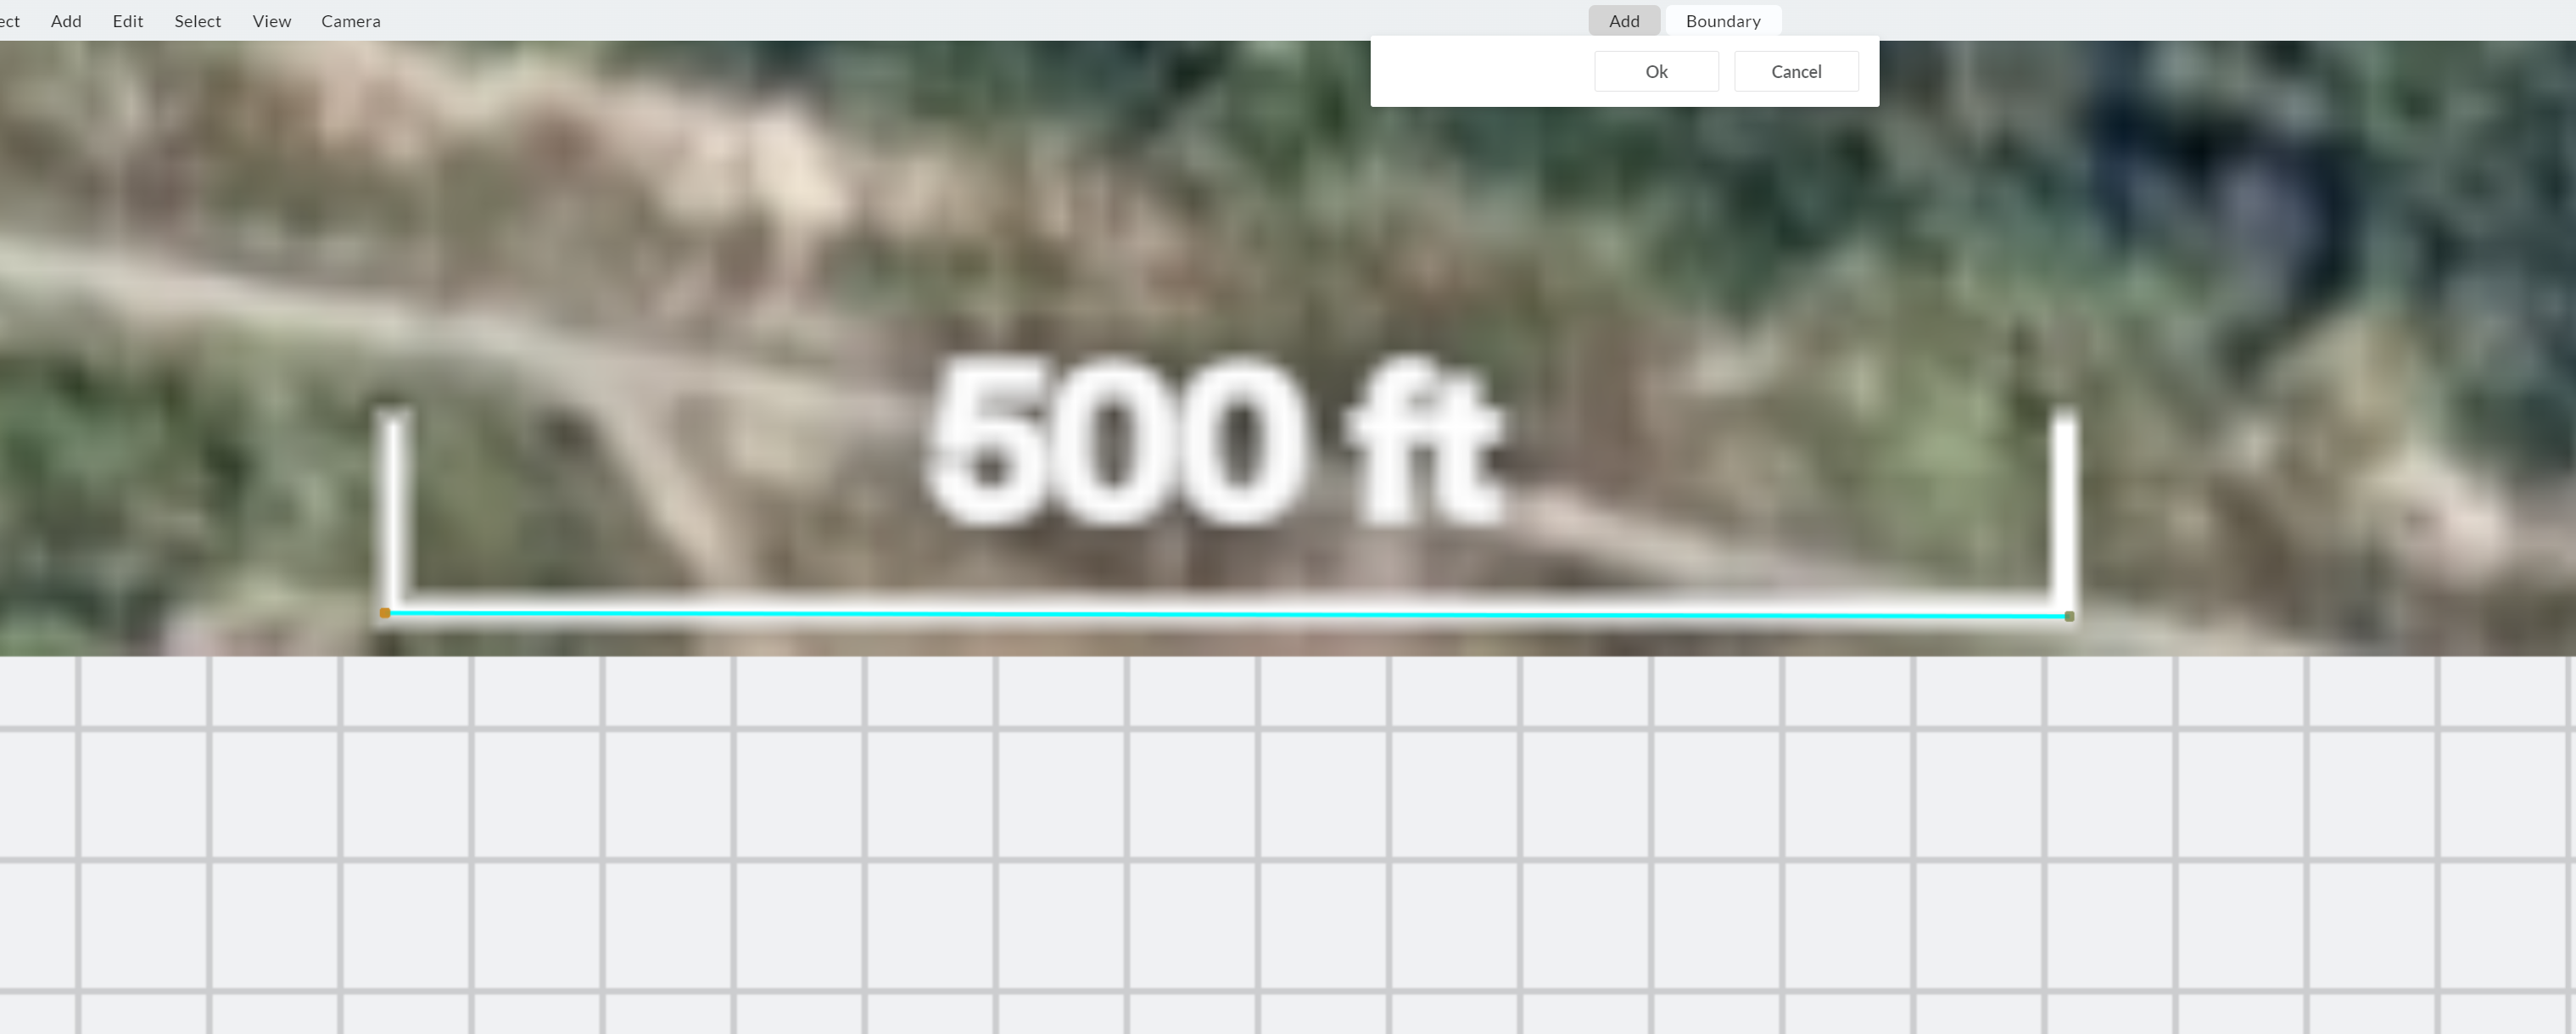
The image must be a PNG file type, this can be achieved by creating a screenshot. When capturing the image, be sure to include the scale bar. This element is crucial for accurate scaling within PVFARM. Crop unnecessary parts of the image to streamline the process.
3. Import into PVFARM
-
Open PVFARM and navigate to Project > Import > Browse.
-
Select the PNG image captured earlier and import it into PVFARM.
-
Using "T" adjust the position of the image within the scene for better visibility.

4. Scale the Image
-
Zoom in on the scale bar area and select Edit > Boundary > Create.
-
Use the ends of the scale bar to create a boundary from one end to the other.
-
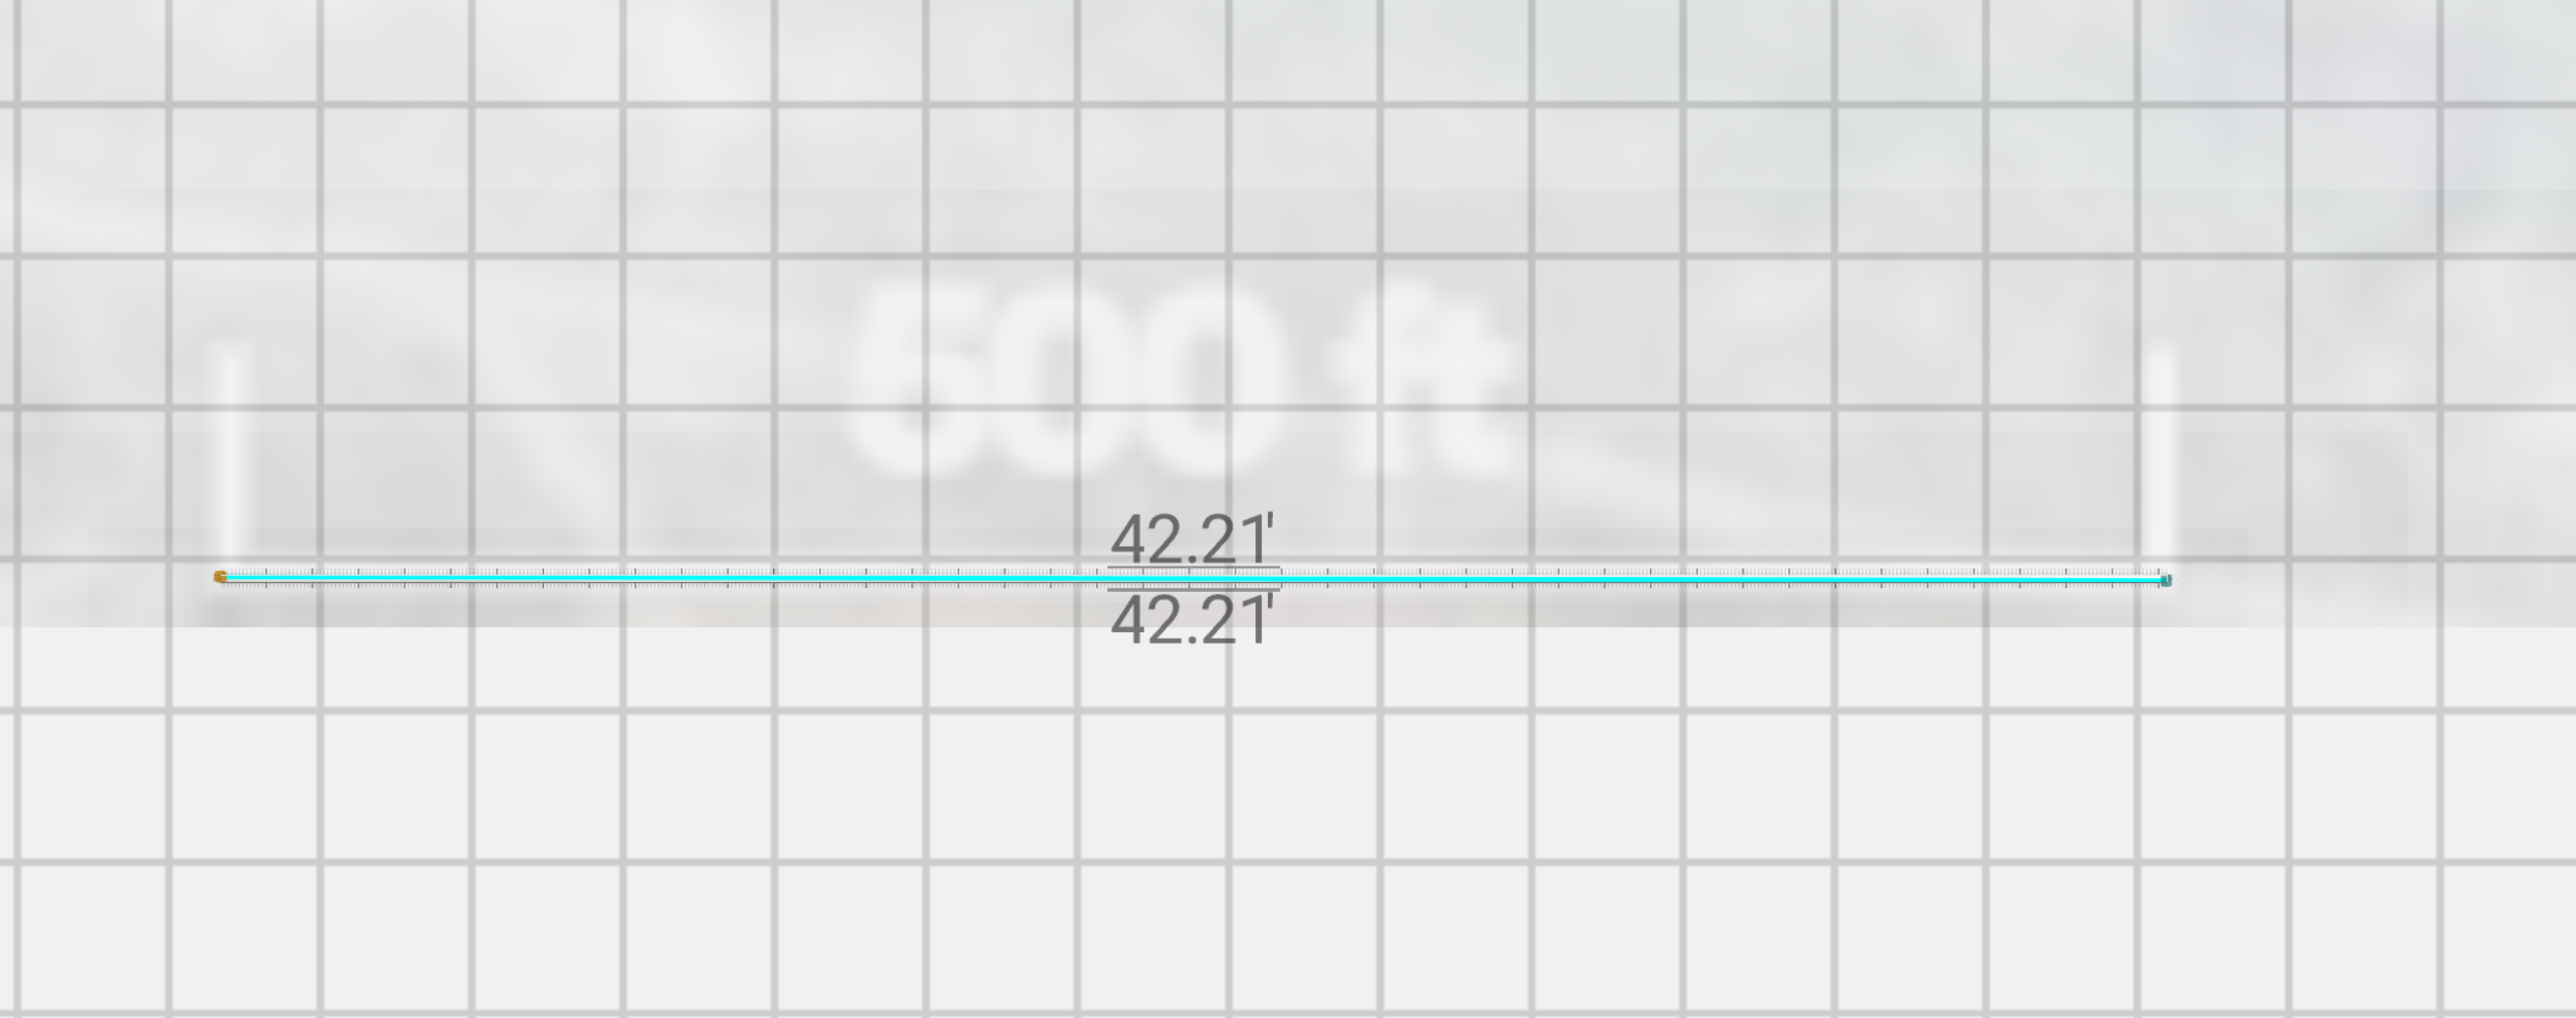
Press "C" to see the actual measurement of that line, which you can use to determine the scale factor.
-
Adjust the scale of the image using the X and Y axis values under object details.

-
Align the image with reference points in the scene to ensure accuracy.
-
Confirm the scaled measurement by creating another boundary and comparing it with the scale bar.
-
Be sure to delete the two lines you made to do this calculation.
-
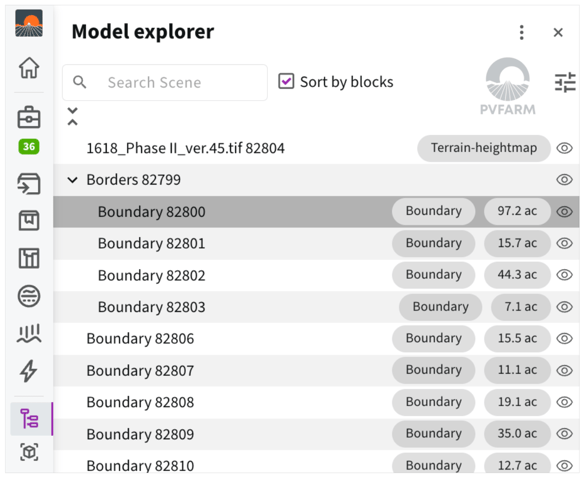
It's easiest to do this by opening the Model Explorer
-
5. Finalize the Image
Once scaled correctly, the aerial image can be used alongside project boundaries for visualization. If necessary, crop out irrelevant parts of the image to enhance clarity and streamline the process.